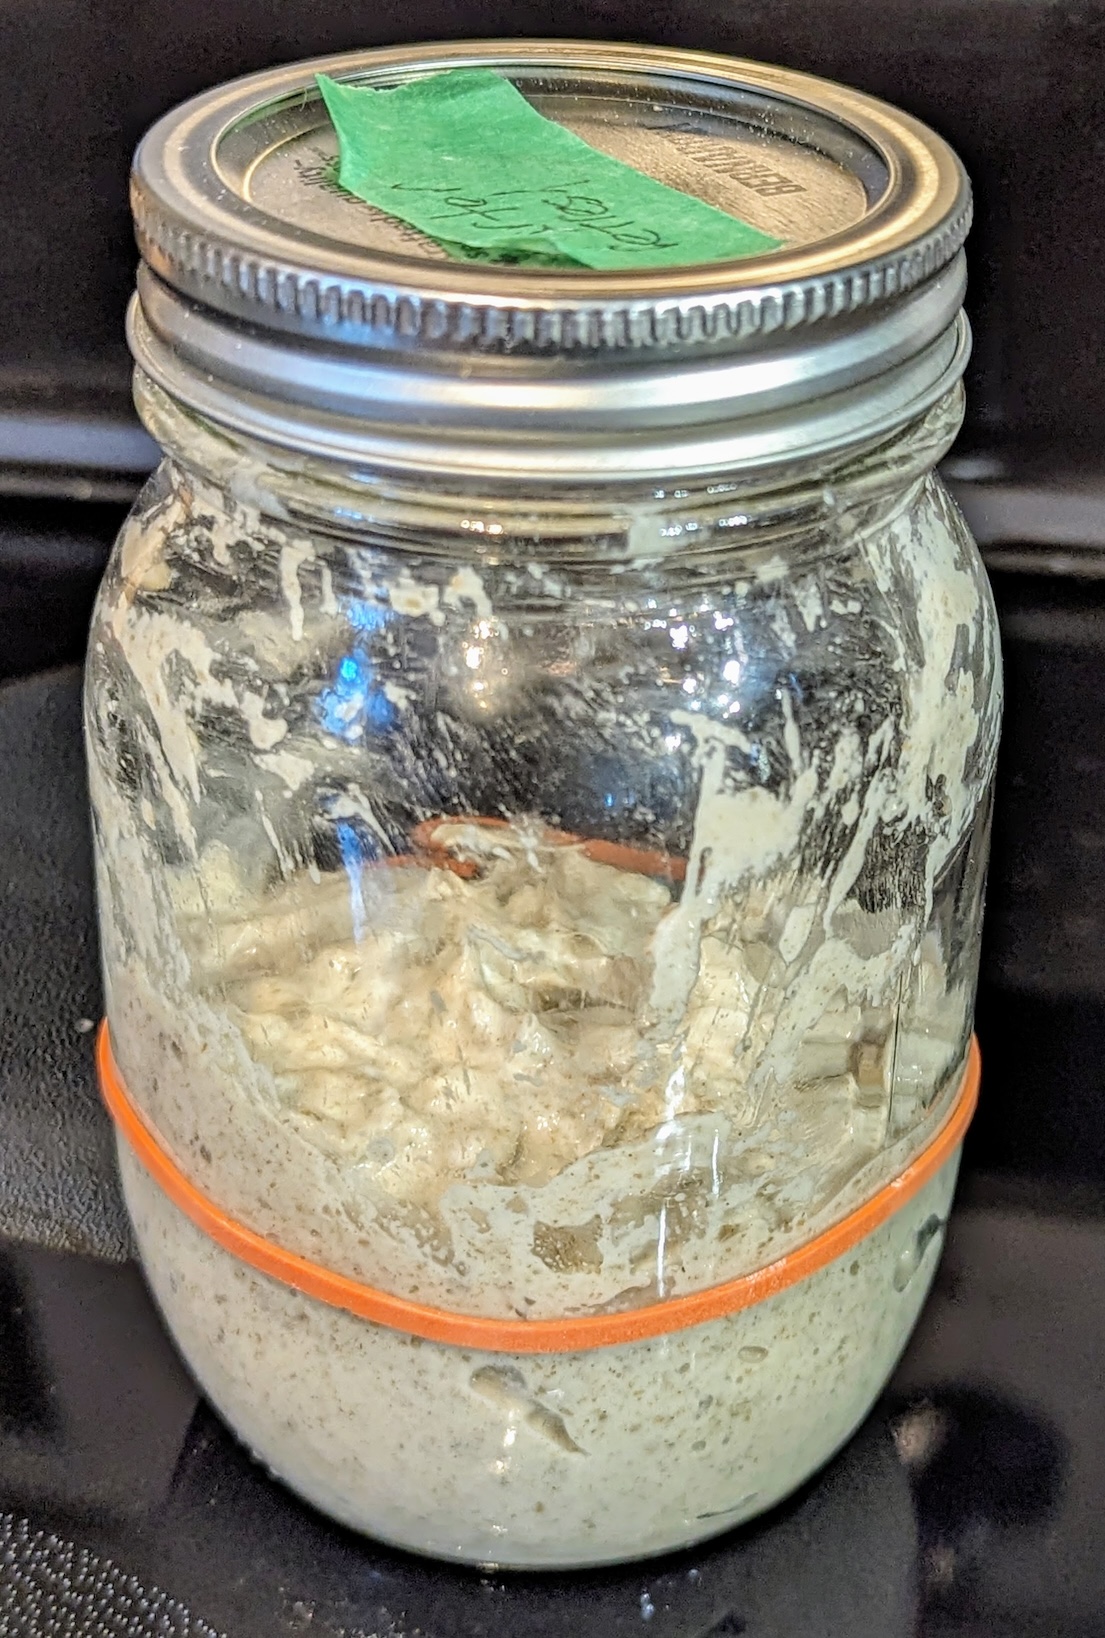
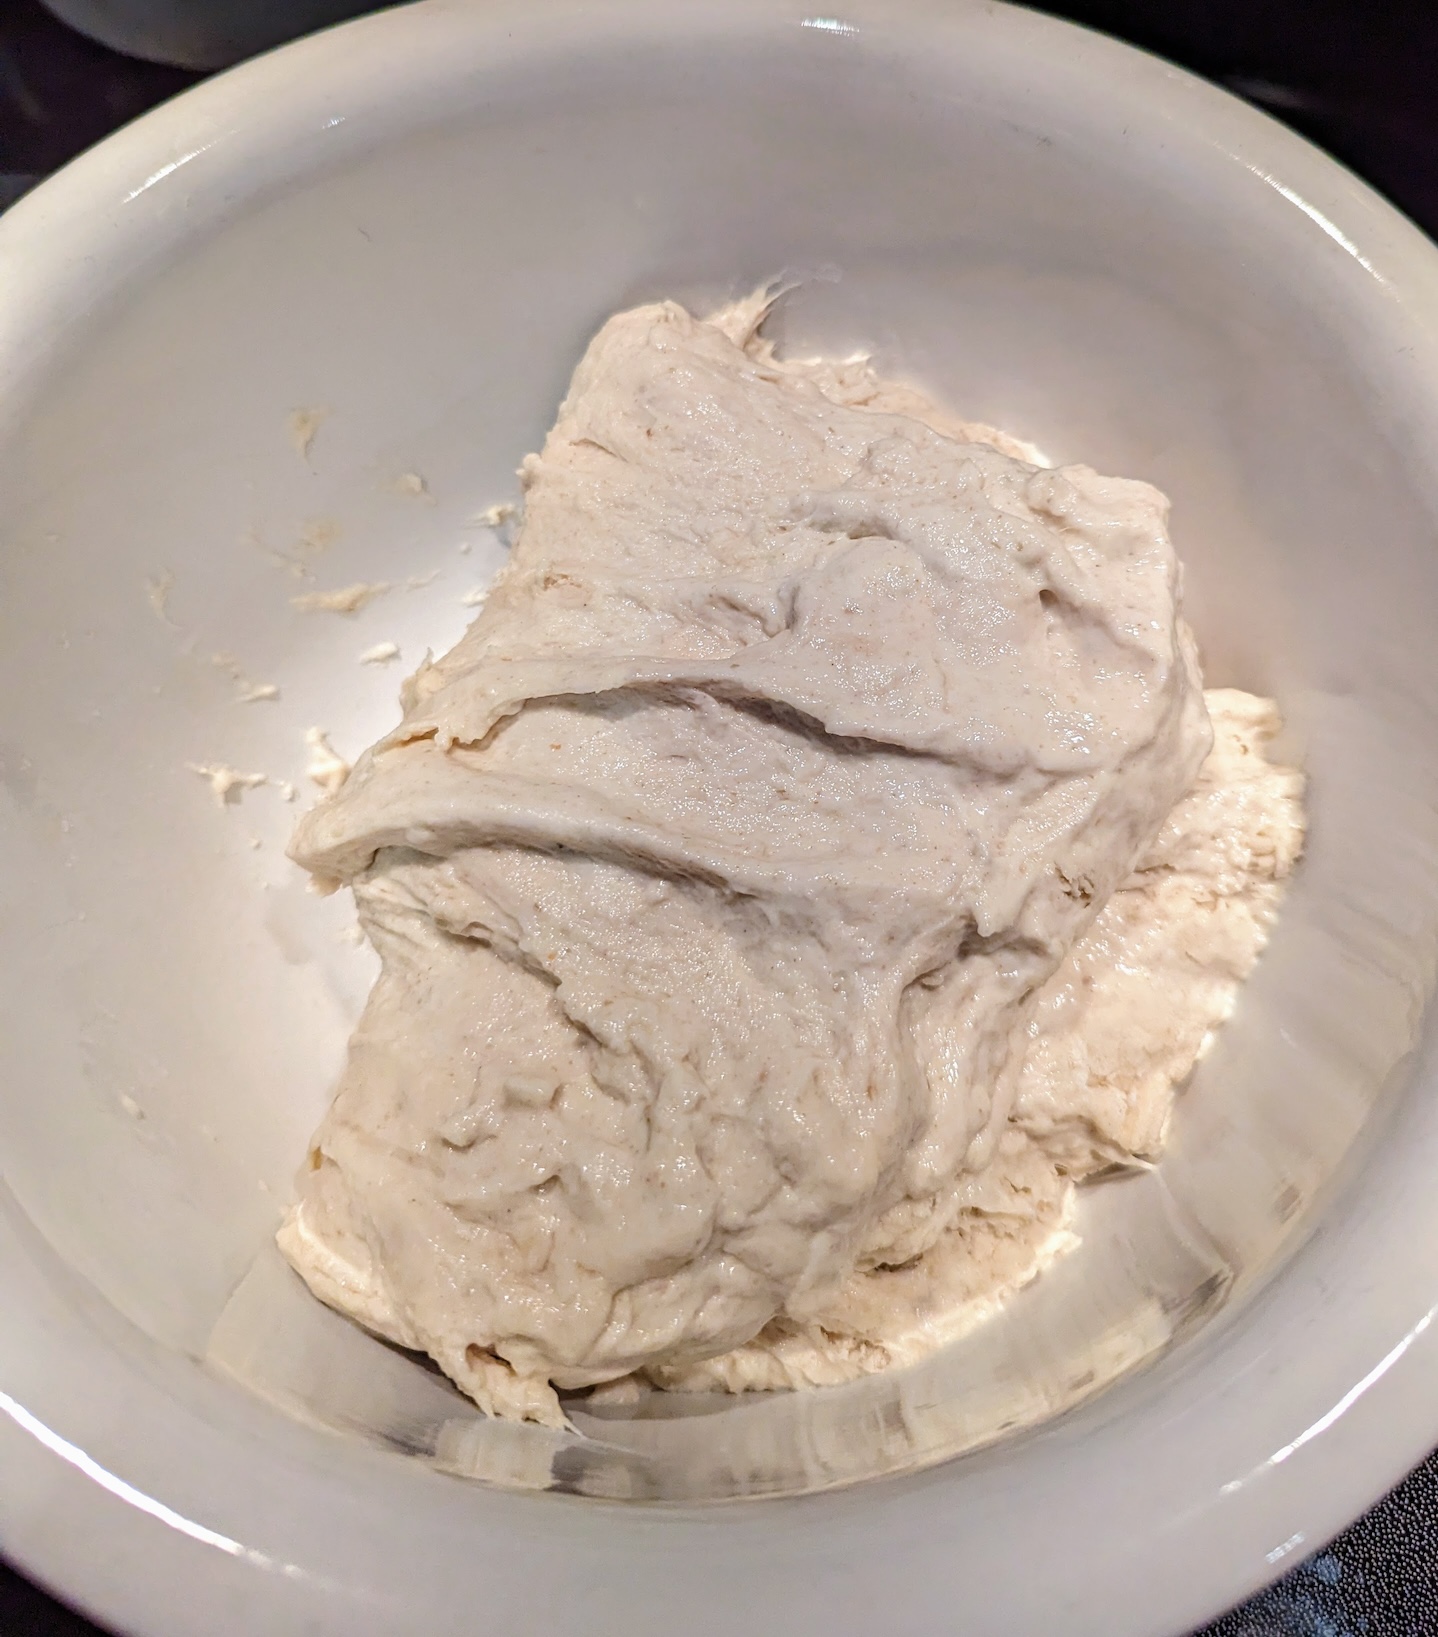
All sourdough loaves need a sourdough starter. This is what mine looks like just after it has been refreshed. I do this daily.
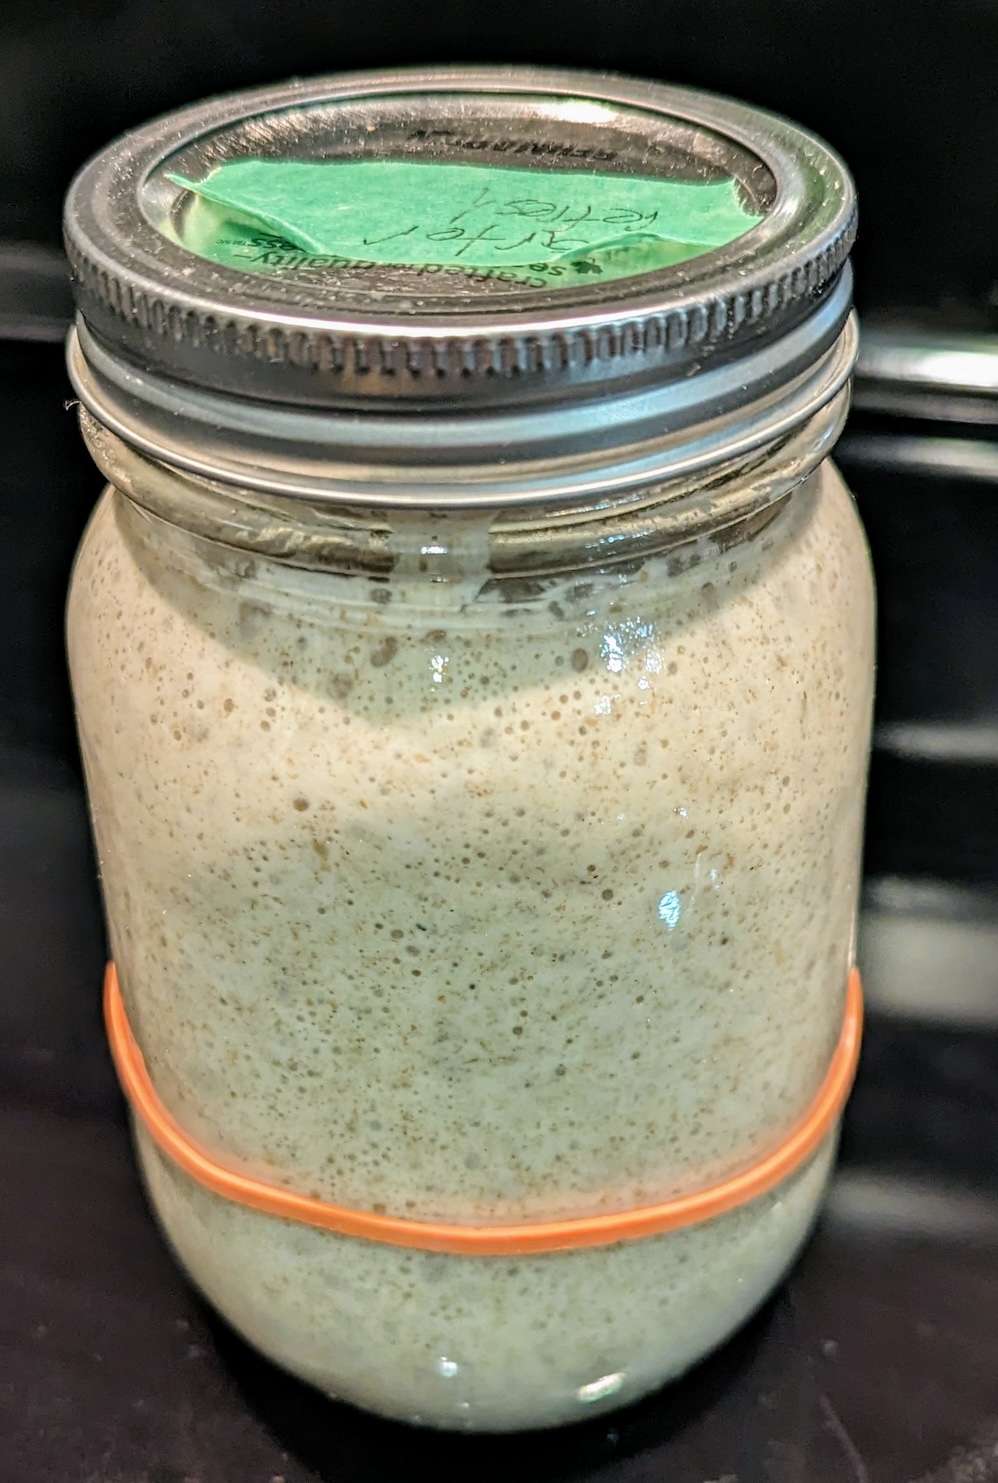
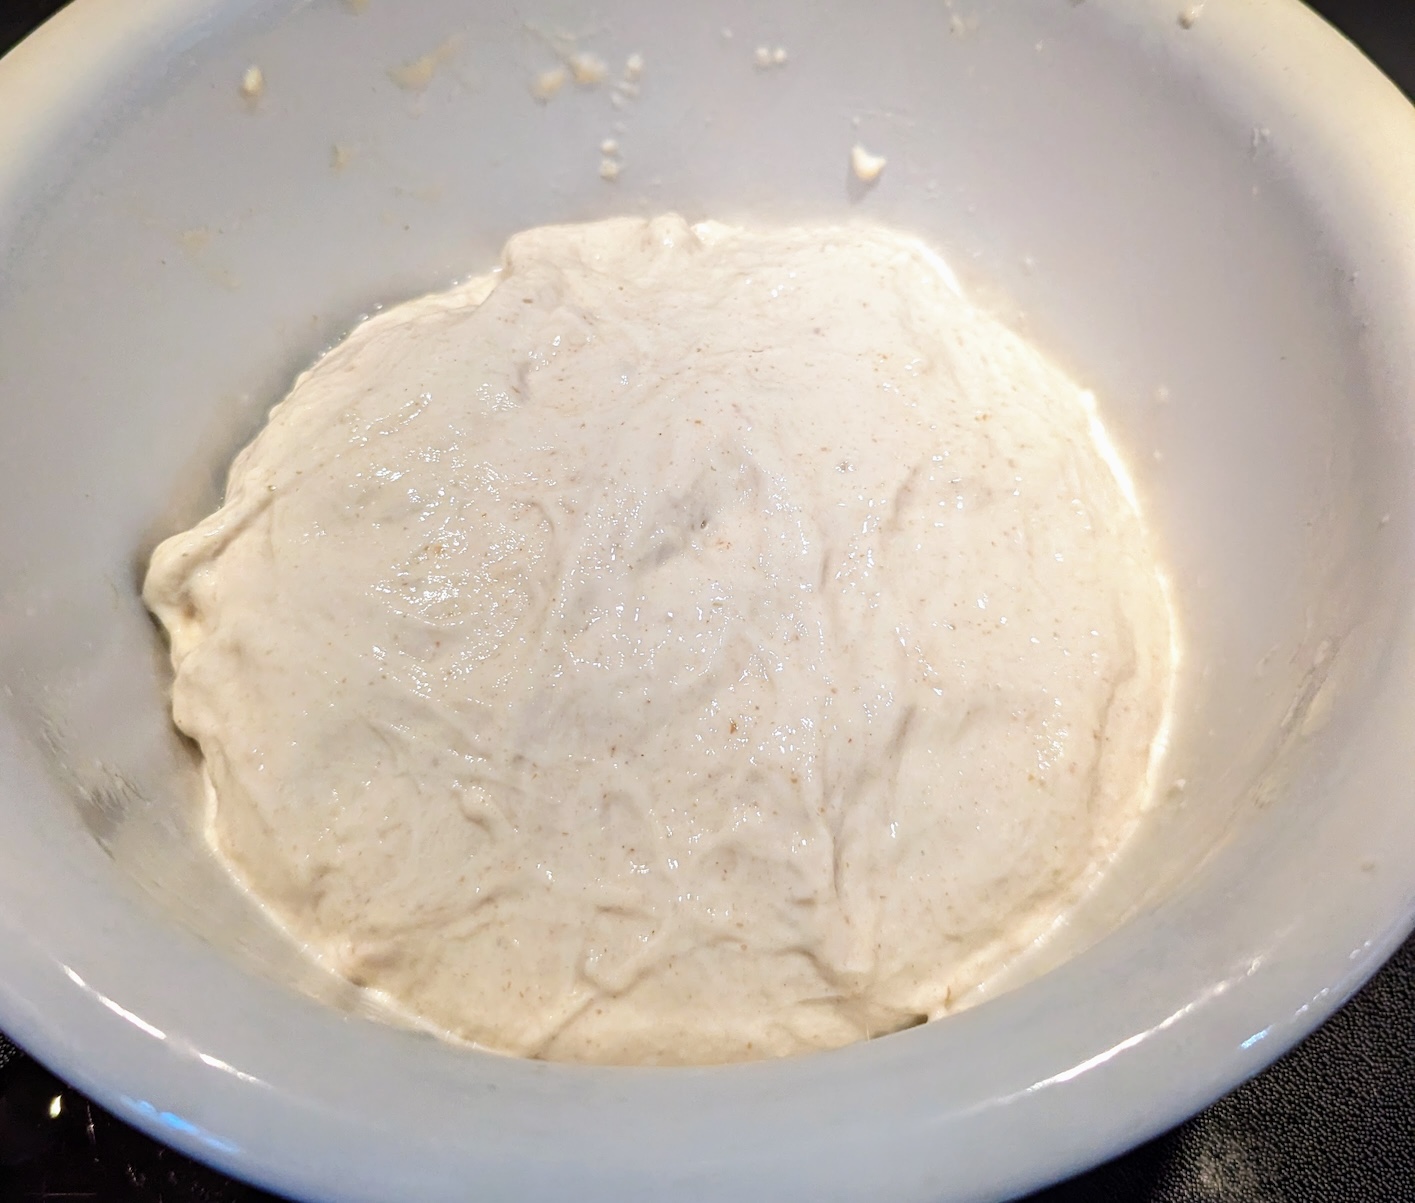
And this is what it looks like 24 hours later when it is ripe. I’ll take 20 g of this ripe starter to create my daily refreshed starter. I use 100 g of the ripe starter in the loaf I will make. In effect, my starter is my levain.
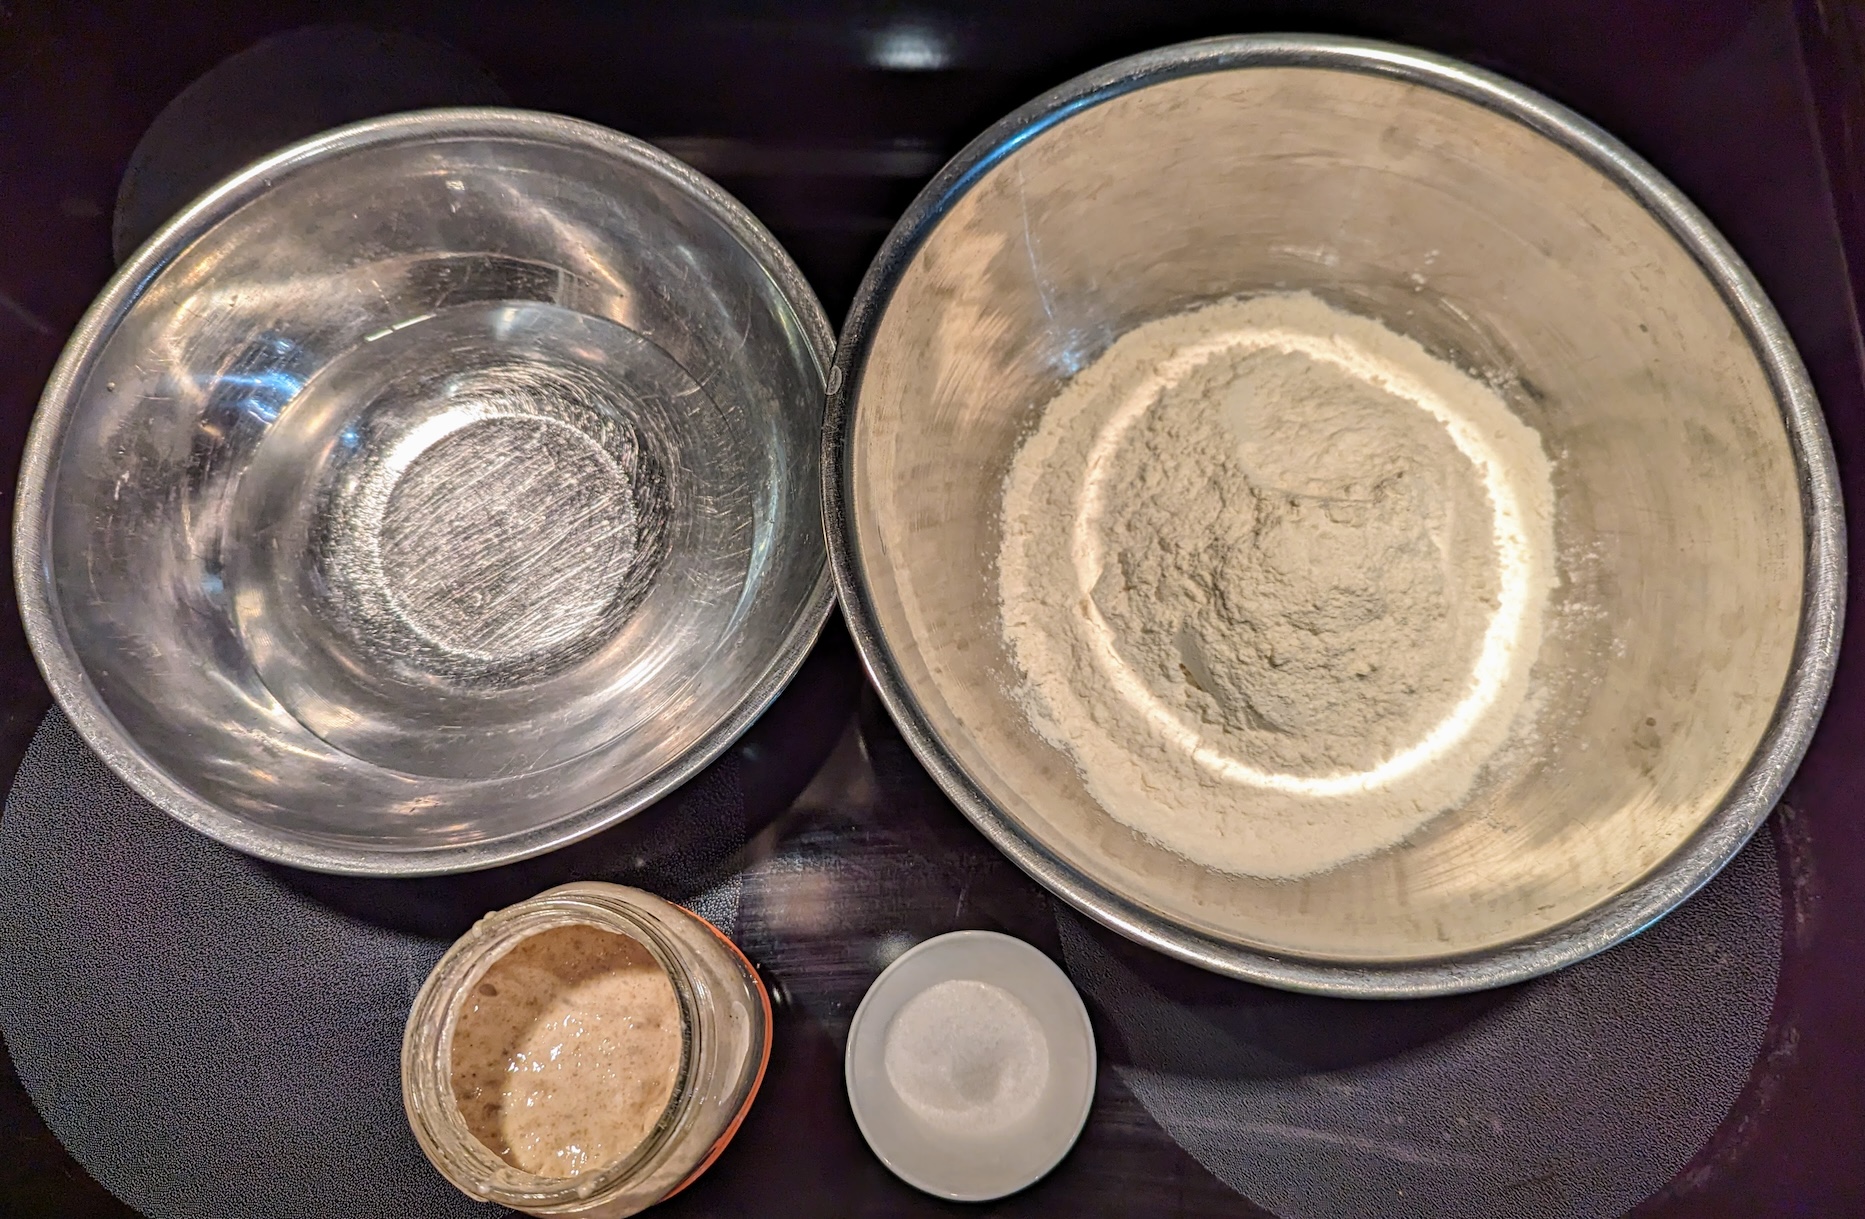
Here are all of the ingredients in my sourdough loaf: 375 g of water, 11 g of fine sea salt, 250 g white bread flour, 200 g whole wheat flour, 50 g dark rye flour, and about 100 g of ripe sourdough starter.
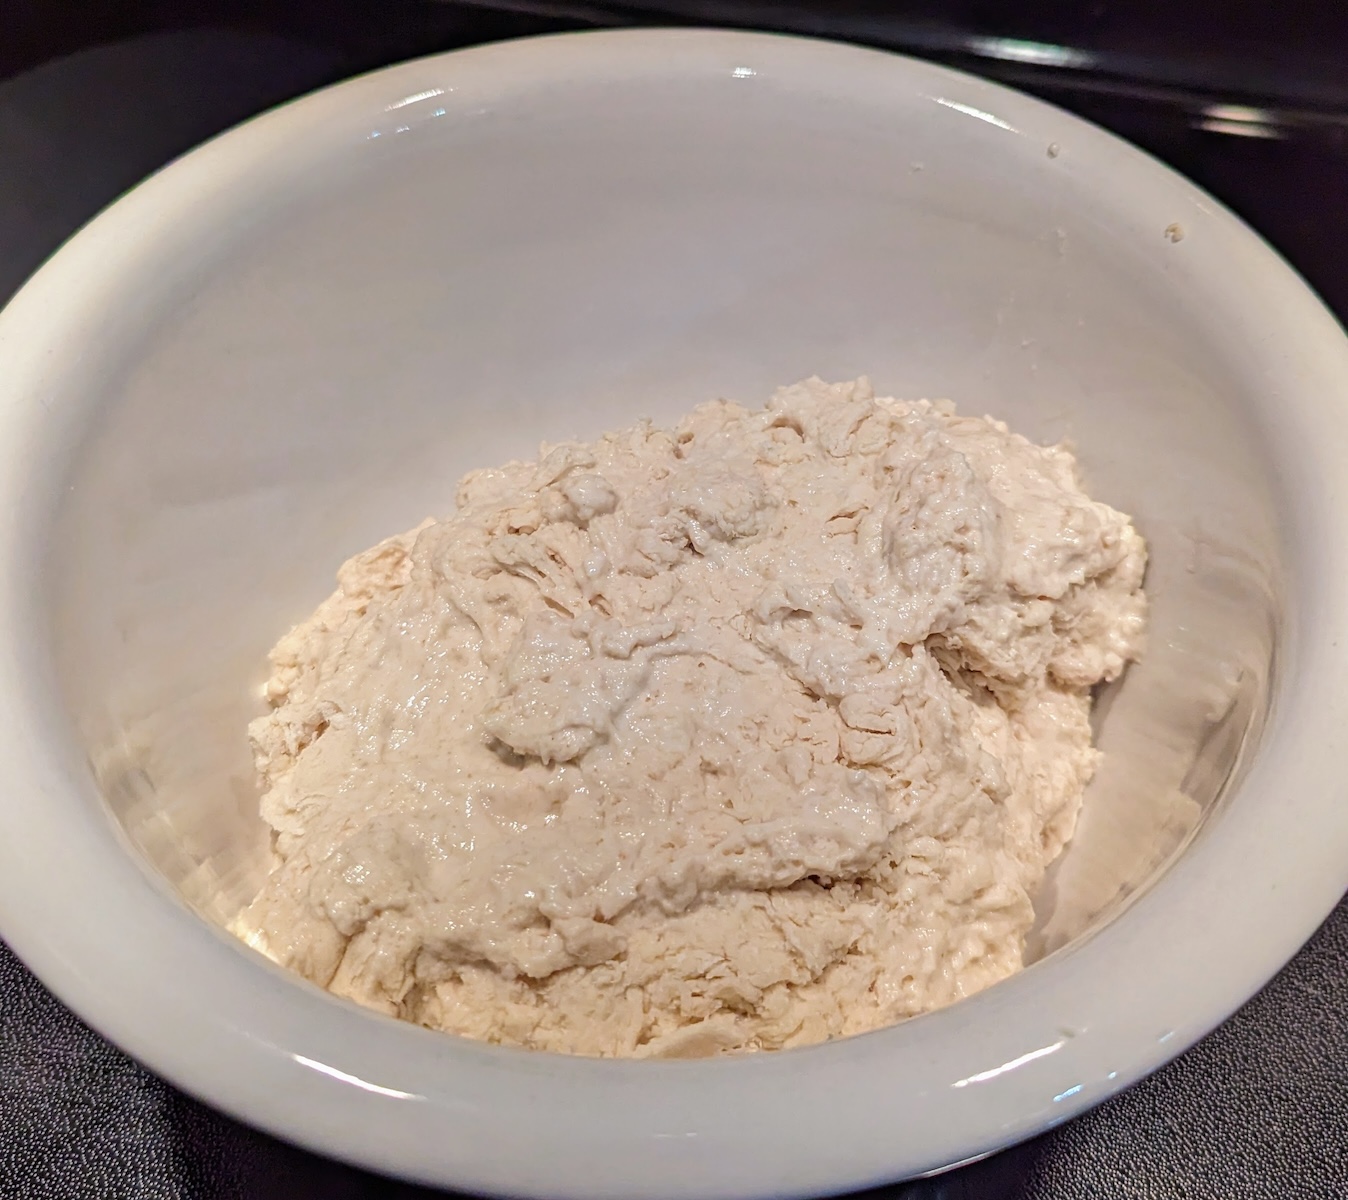
Along with using my ripe sourdough starter directly as my levain, I do not currently use an autolyse step. Opinion divides on this, but I’m just detailing here what I actually do. I mix all of the above ingredients together at once to form a shaggy dough.
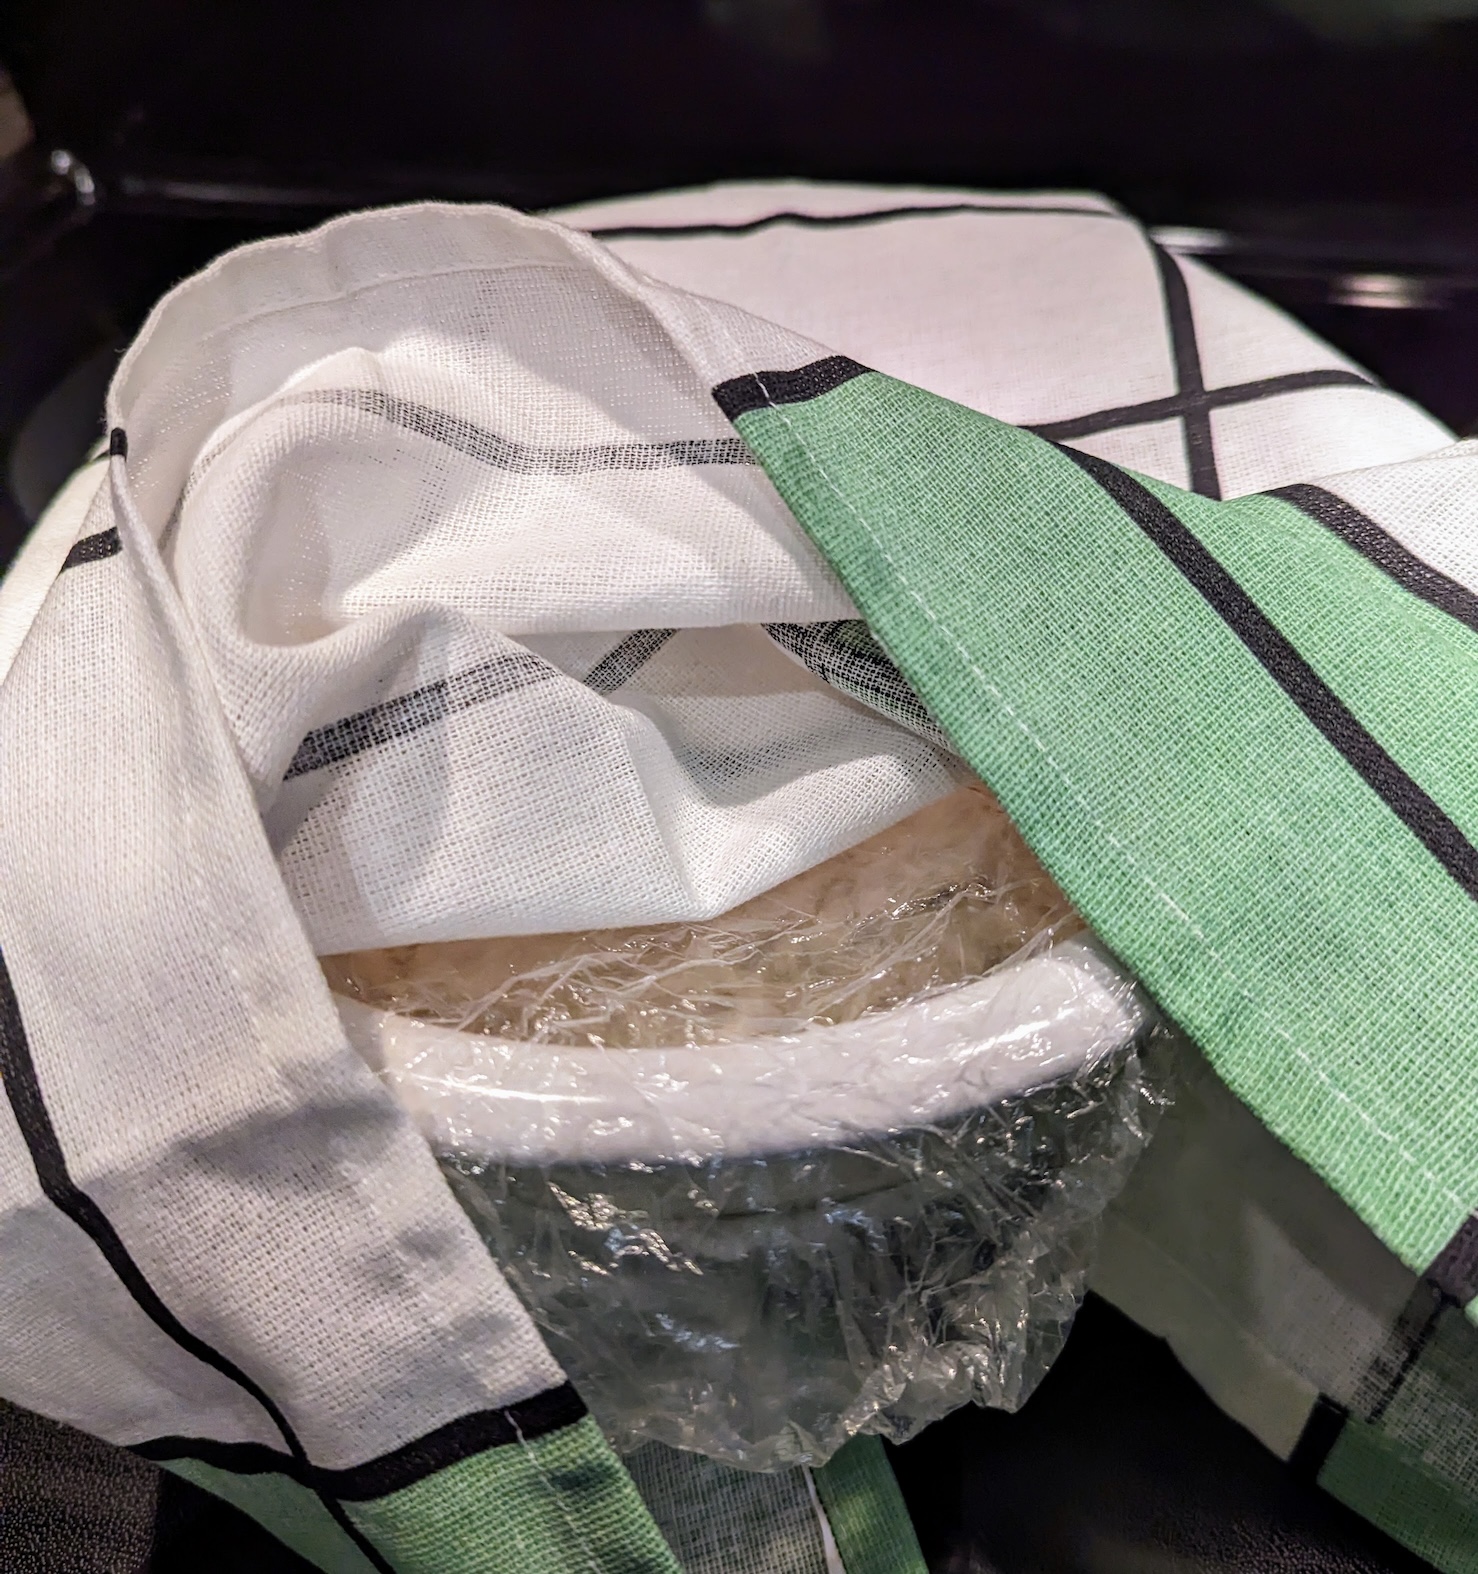
Then I cover it with a reusable plastic cap and a tea towel and let it rest for 30 minutes.
Stretching and folding the dough is essential to build strength and extensibility. After 30 minutes of rest, the dough is ready for its first set of stretches and folds. Here is dough after one side has been stretched and folded. Once the dough has completed its first set of stretches and folds, the reusable plastic cap is replaced along with the tea towel and it is left to rest for another 30 minutes.
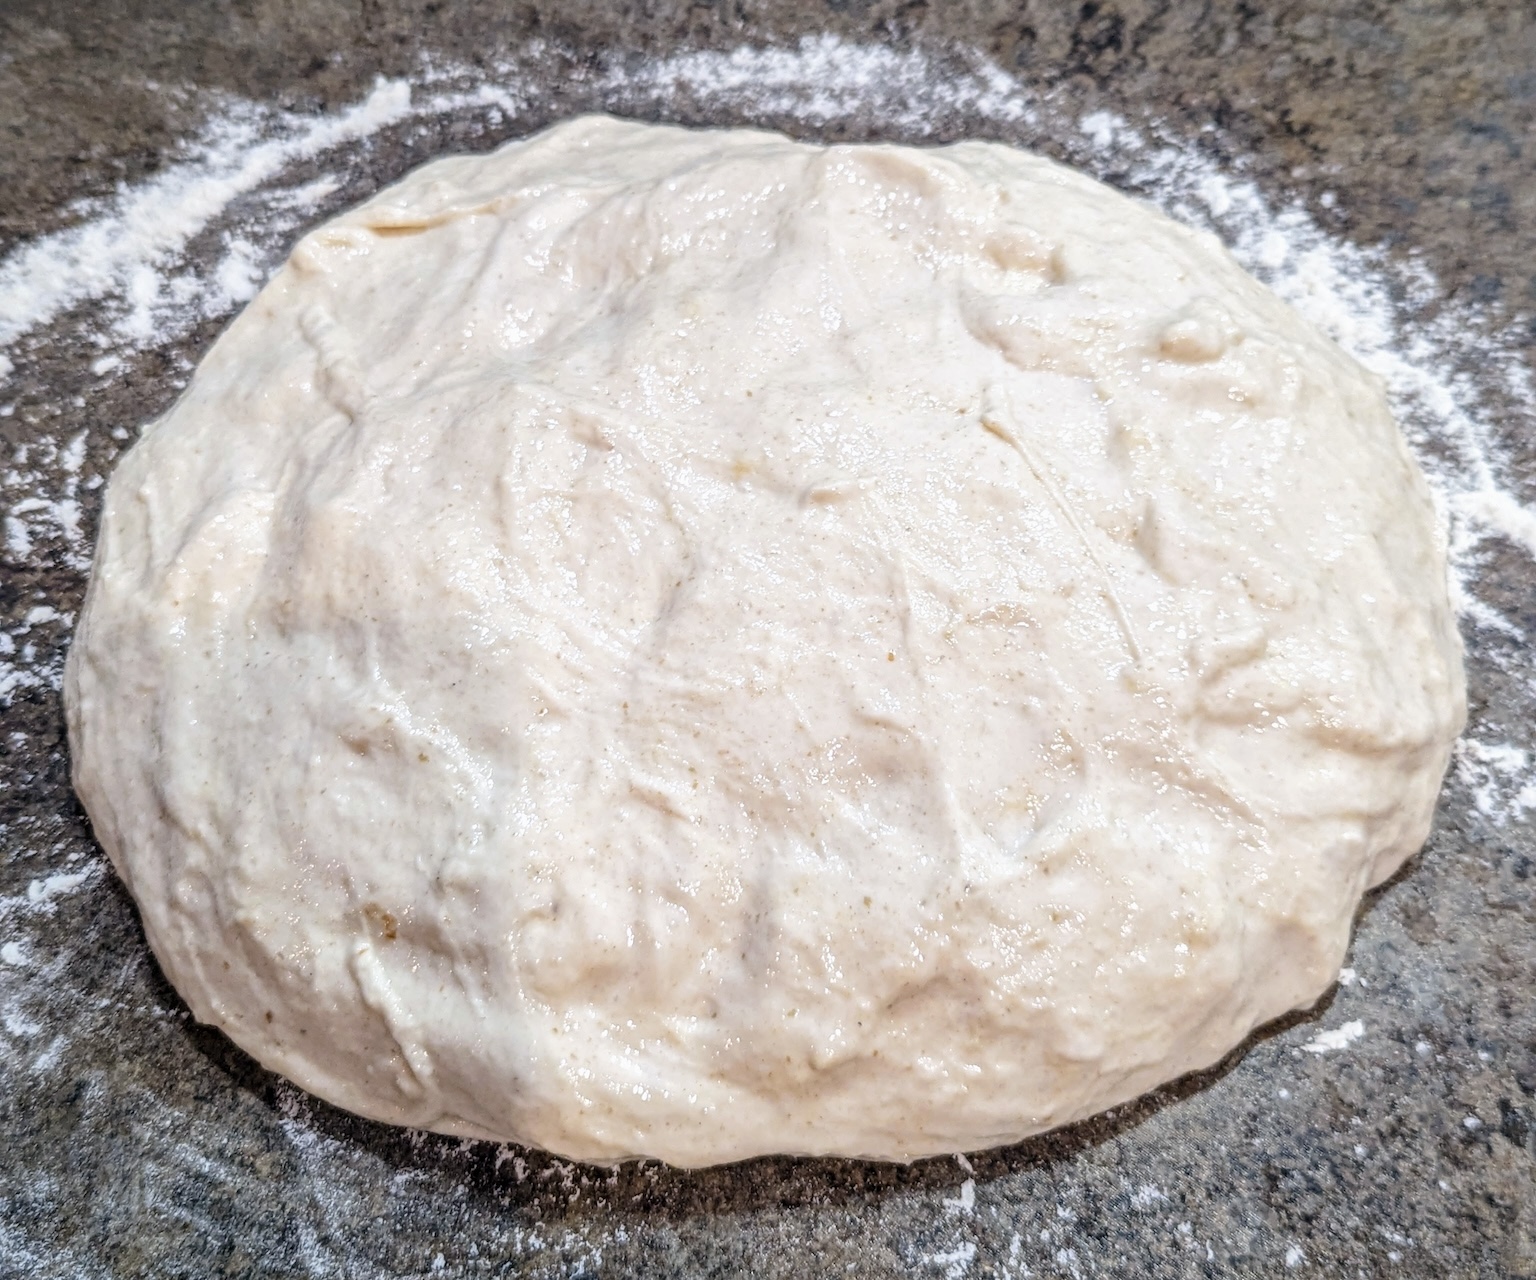
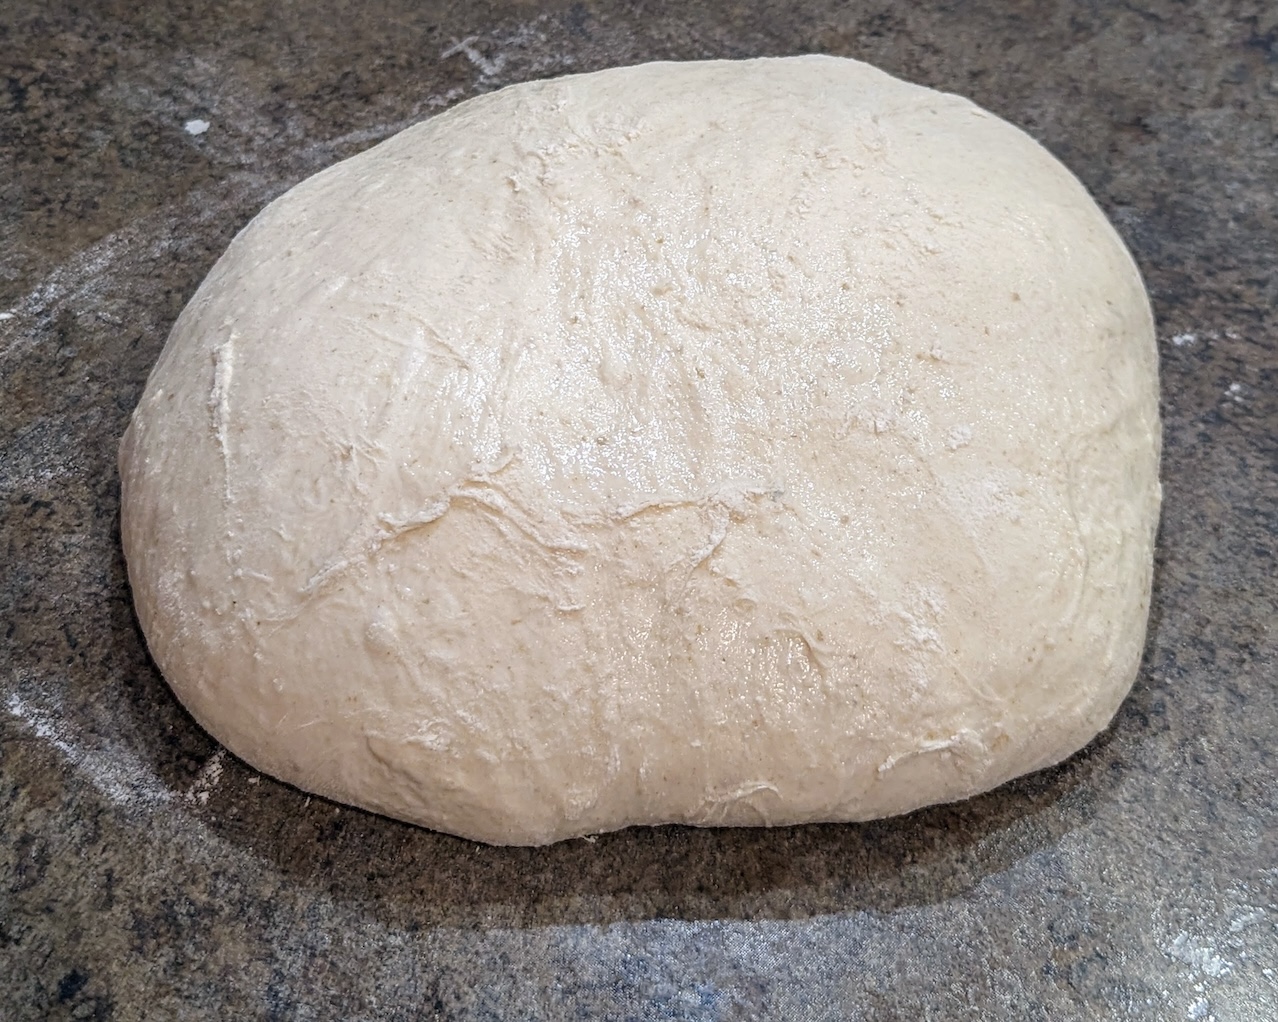
Three more sets of stretches and folds done at 30 minute intervals results in dough that looks like this.
The covers are put back on and it is left to rise. Times for this vary depending your kitchen temperature but for our kitchen I tend to leave the dough in this state for about 3 hours. The dough is turned out onto a floured work surface and undergoes pre-shaping, which is when you form it roughly into a ball. It is then left, uncovered, for about 40 minutes.
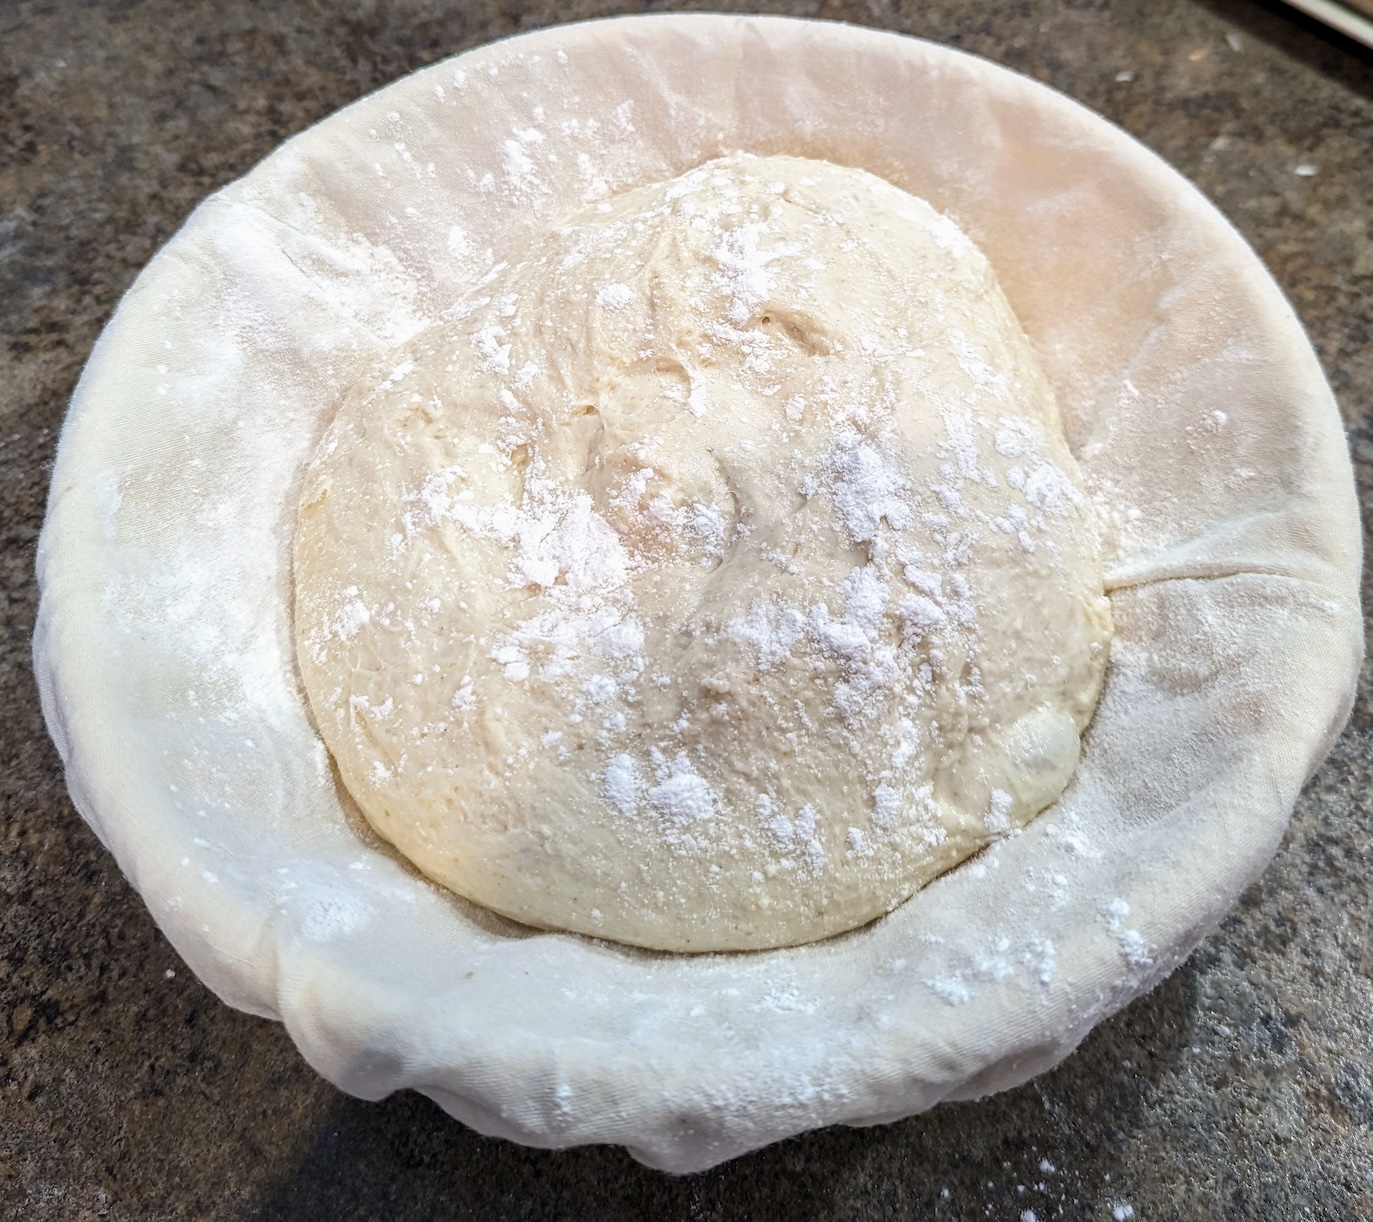
Final shaping tightens the ball of dough further. It is then transferred into a banneton dusted with rice flour. The banneton cover goes on and then the dough is placed in the refrigerator for an extended period of retardation proofing. I usually leave it there for about 39 hours.
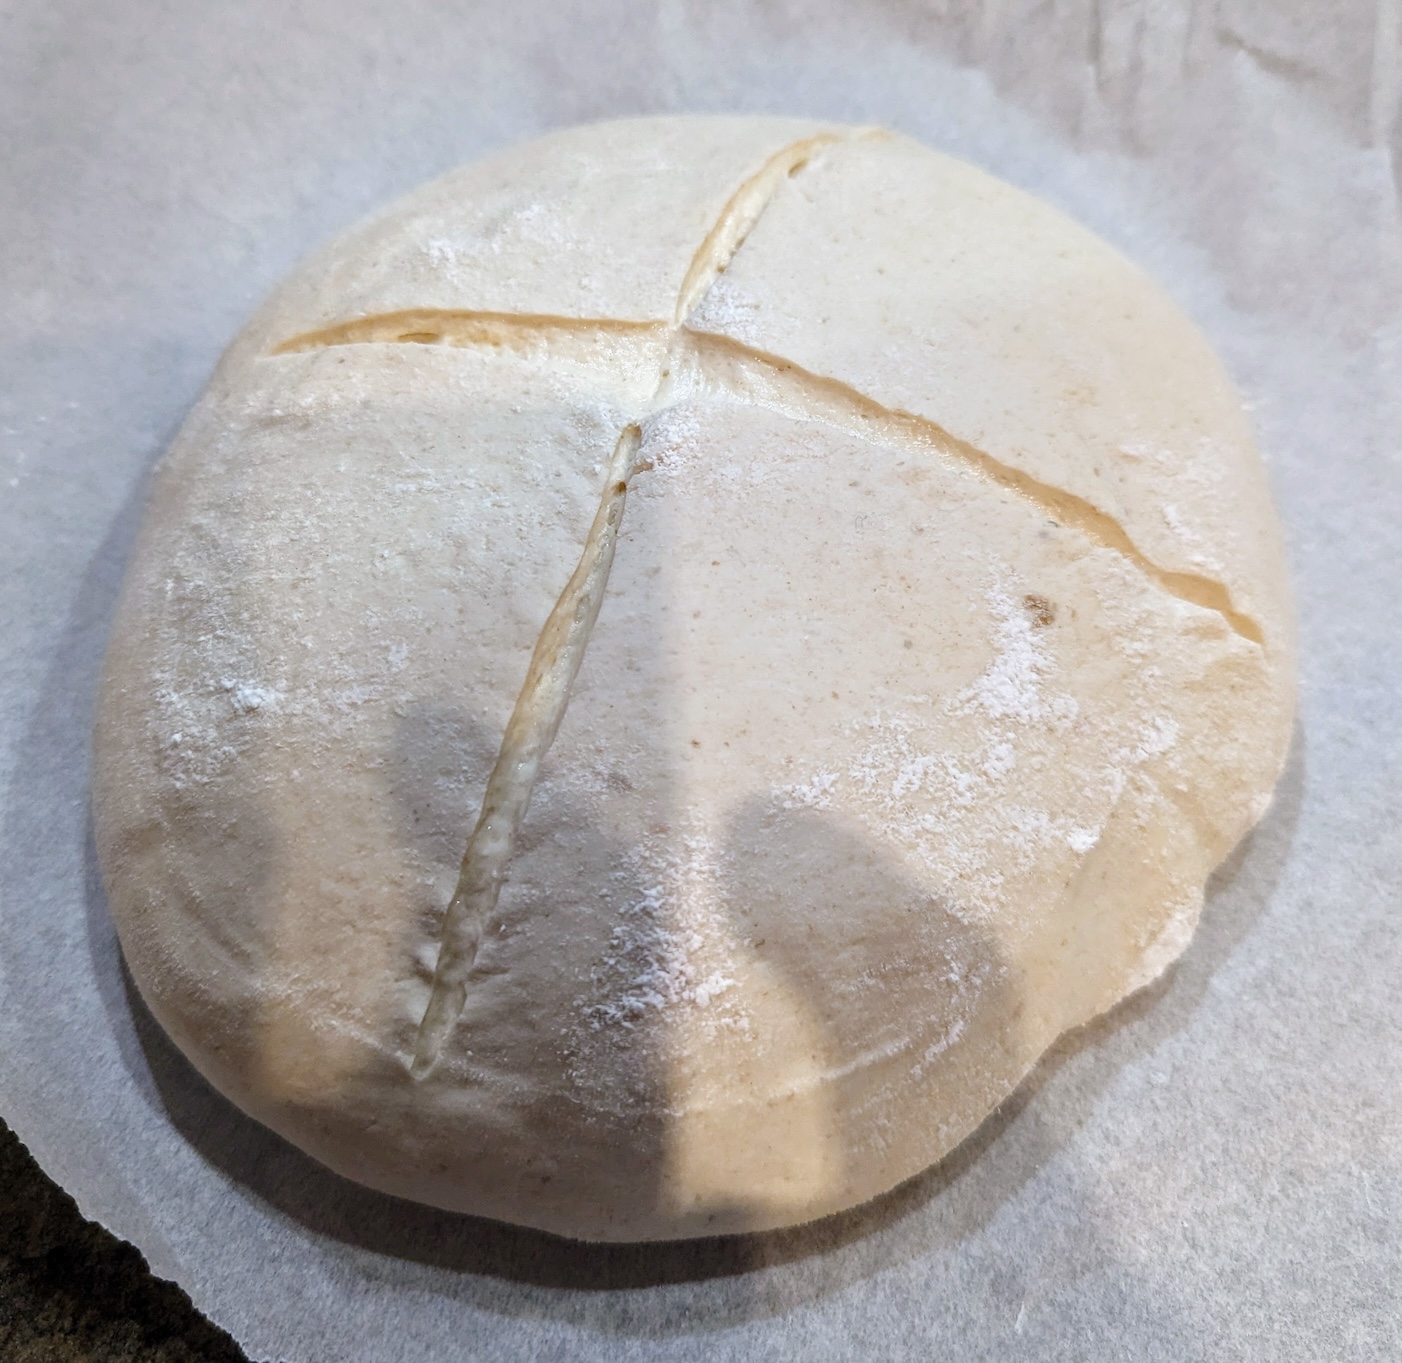
So, two days after I’ve made the dough, I’m ready to bake it. That starts with preheating the oven as hot as it can go with the Dutch oven in it. Our oven only goes up to 287 c. It takes nearly half an hour to get that hot. Once it is ready, I remove the banneton with the dough from the refrigerator and carefully tip it out onto a piece of parchment paper. I then score it with a bread lame.
And then it goes into the Dutch oven and the lid is put on. The whole thing is put back in the oven and the temperature is immediately dropped to 232 c. This allows the oven to slowly cool from its high temperature for about 20 minutes before the oven elements even need to turn on again. The first bake, with the Dutch oven lid on, is for 30 minutes. It is during this time that the bread gets its oven bounce.
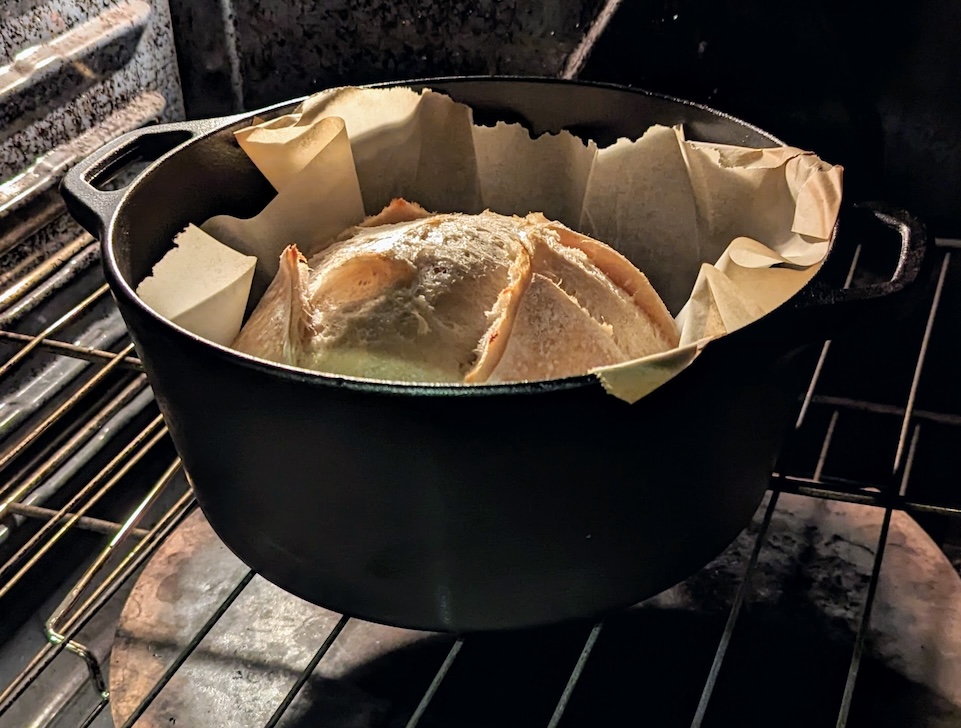
The lid of the Dutch oven is removed and the temperature of the oven is reduced to 210c. The bread bakes for a further 15 minutes.

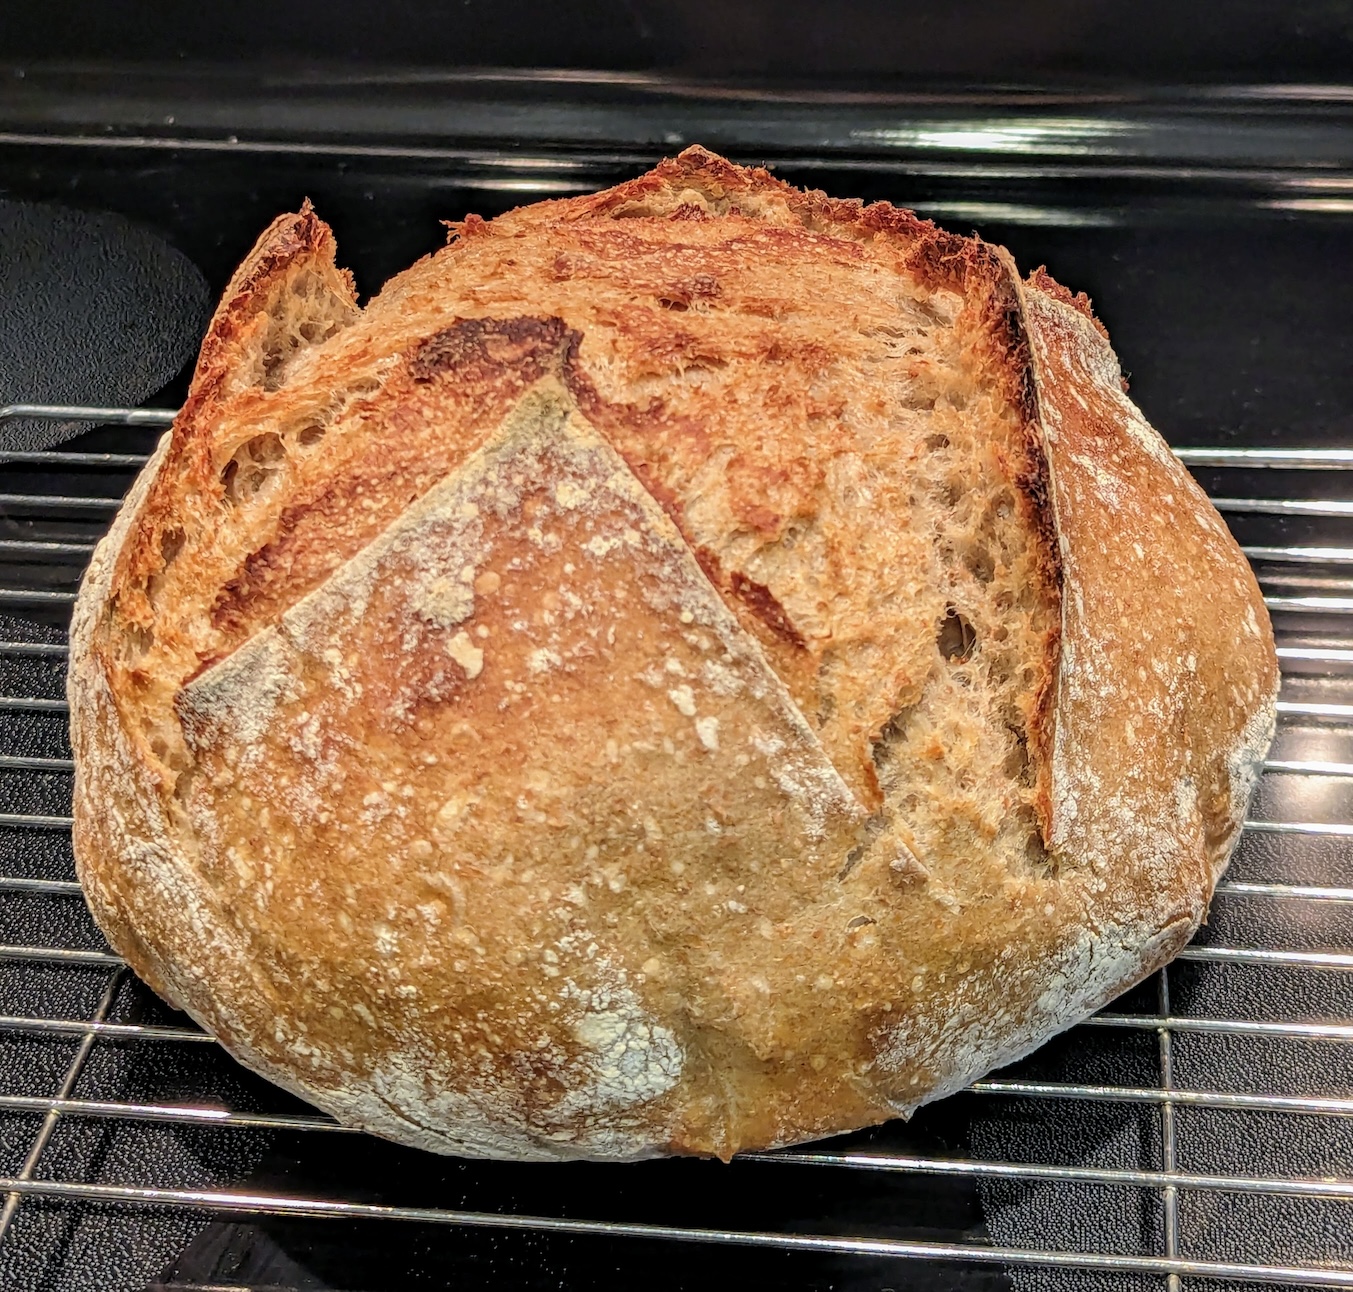
Remove the bread from the Dutch oven at this point. Optionally you can put it back in the oven directly on the oven rack for another 3 minutes or so in order to darken the crust a bit more. That’s what I do. And now the bread is done and looks like this.
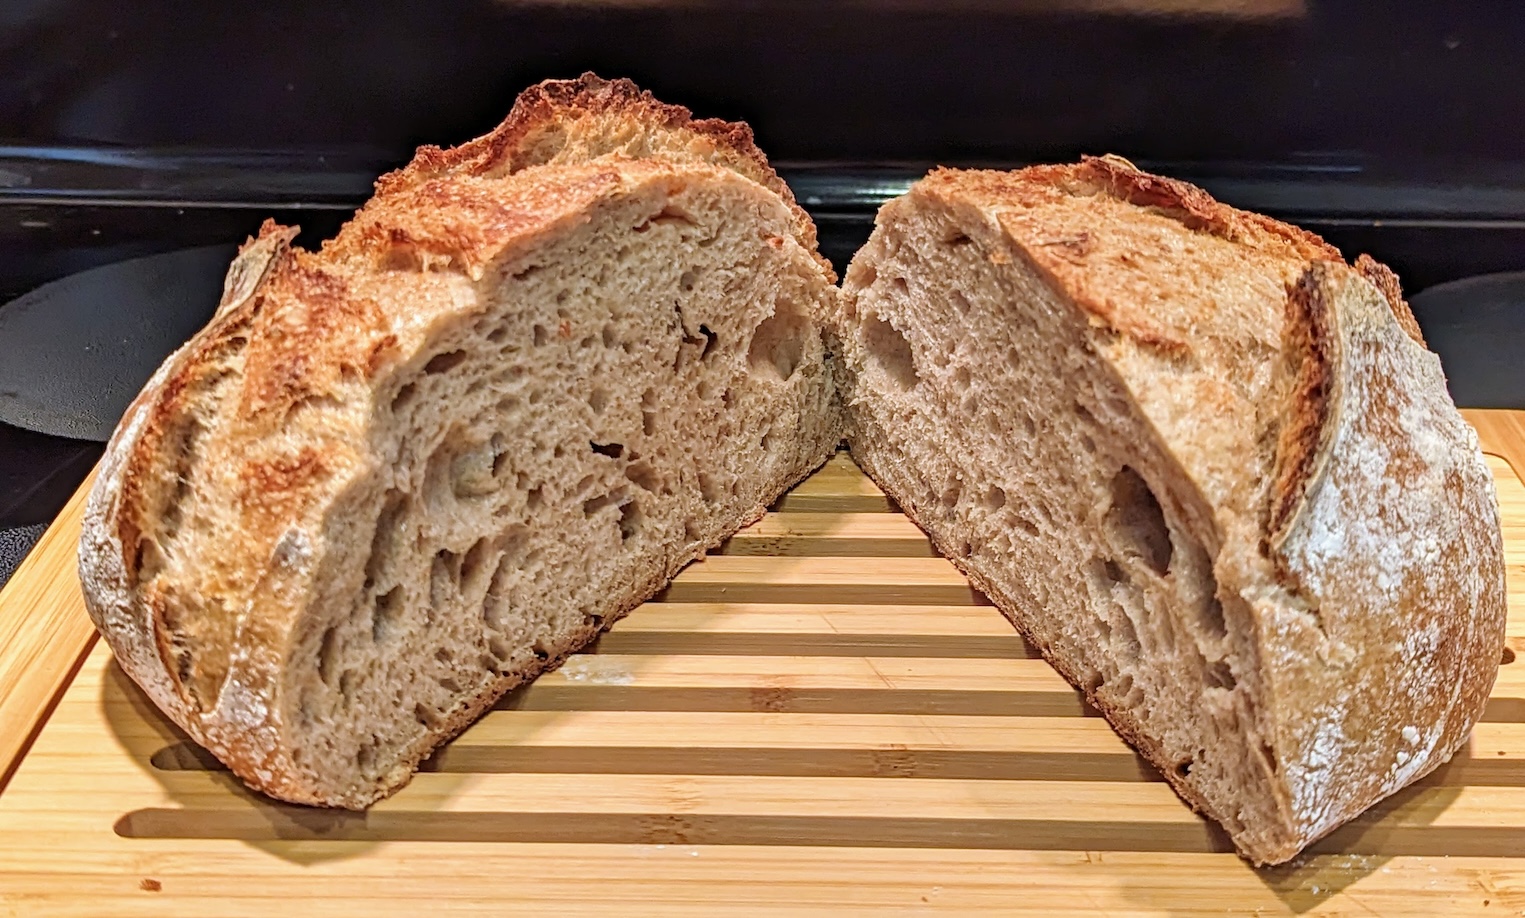
A couple of hours later, when it has cooled sufficiently, your can cut it open and admire your crumb.
Enjoy!
The above method is adapted from Alexandra’s Kitchen.
Back to Sourdough Bread.